HOW TO GENERATE AN INVOICE
- Navigate to the home page, at the side bar and click on accounts.
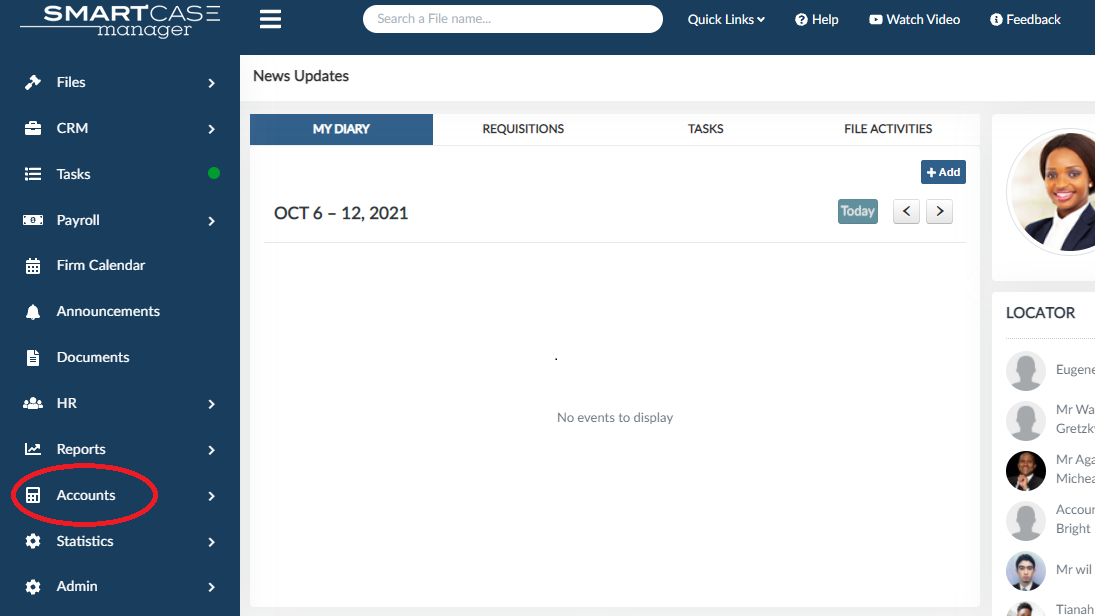
Then click on invoices
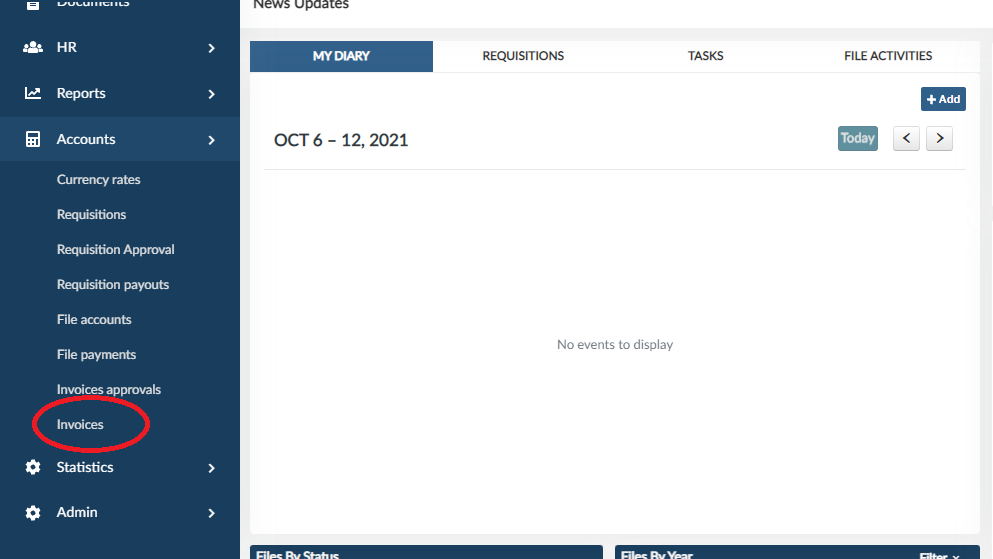
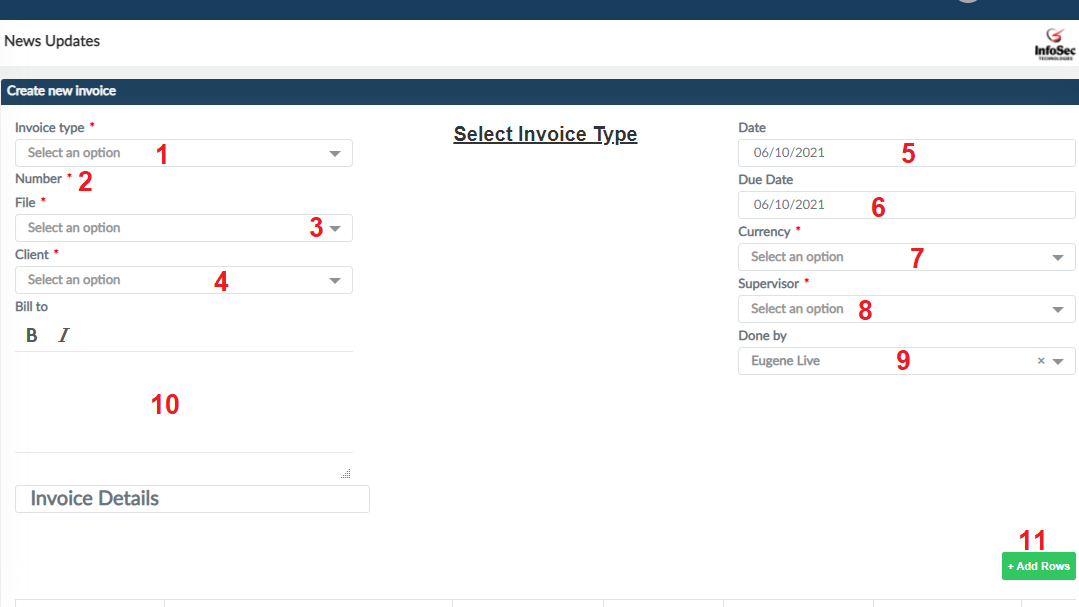
In the create new invoice form,
-
Number: After selecting the invoice type, the number field will automatically be populated.
-
File: select the file your invoice is in reference to in the files drop down. When you select the file, the client’s field, bill to and the currency field will automatically be populated but editable.
-
Date: By default, the date and the due date fields have a period of thirty days but can be adjustated.
-
Supervisors: Select the name of the person who will be approving the invoice from the employee’s dropdown list.
-
Done by: By default, the system captures the person logged in on done by.
-
Add Rows:In the case of multiple items, click the add rows button in green to be able to input.
- Bank: Select the bank, the bank details and payment terms will automatically be populated.
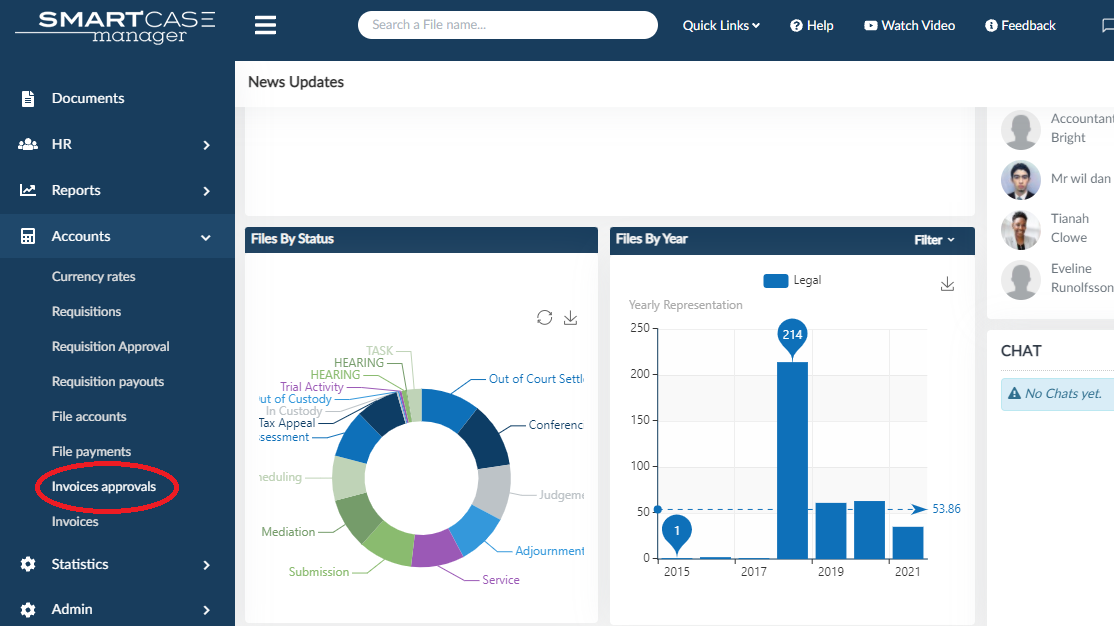
HOW TO APPROVE AN INVOICE
- Go to the home page at the side bar, click the accounts tab,
and then click invoice approvals.
Within this page, click on the the search filters button.
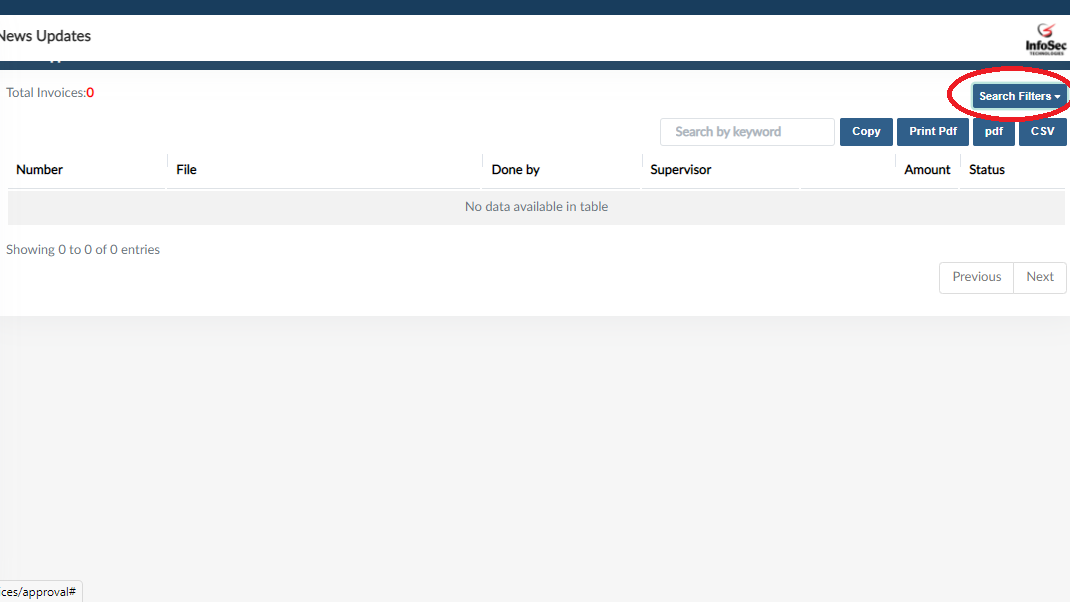
to help you view the invoices you require, check any of the given options.
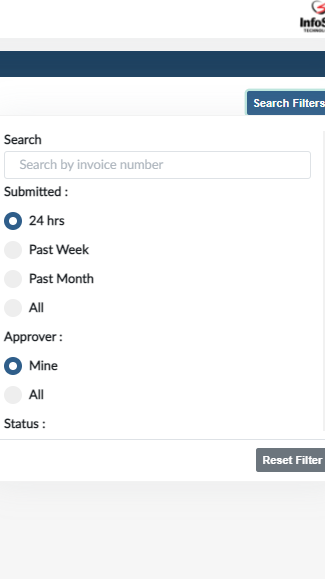
-
Submitted – check any of the given options (24 hours, Past week, Past month, All) to view invoices that fall within that period.
-
Approver - Check if you want to view all invoices or only yours (Mine, All).
-
Status – check if you only want to view Submitted, Approved, Rejected, Returned or All invoices.
-
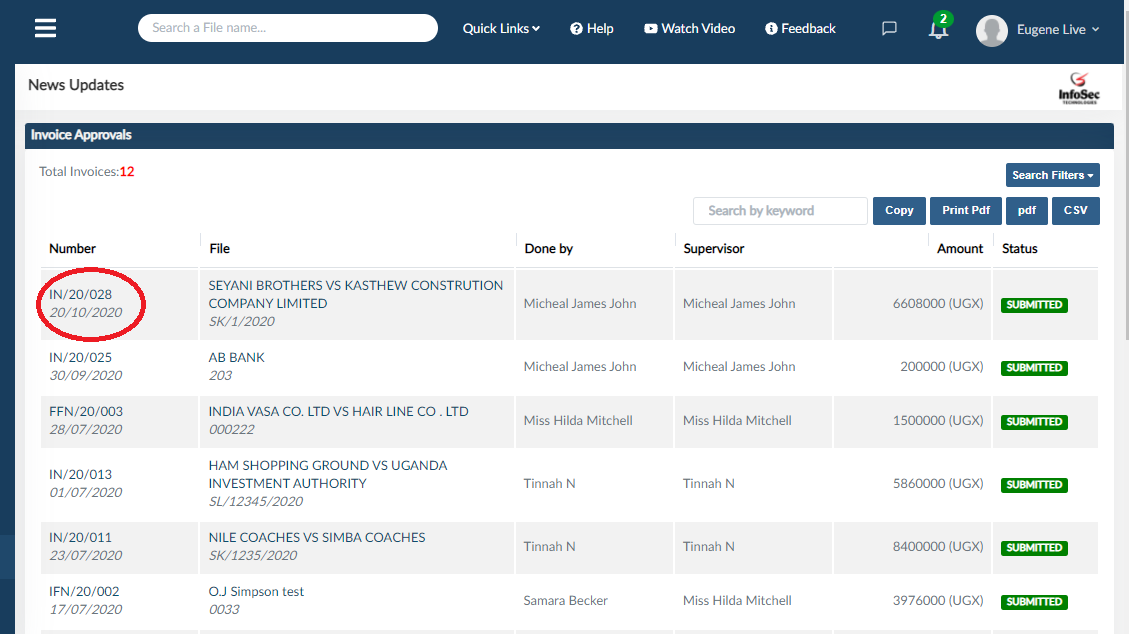
On the next page, click on the invoice number to view the invoice you require.
you can edit the invoice through the edit button
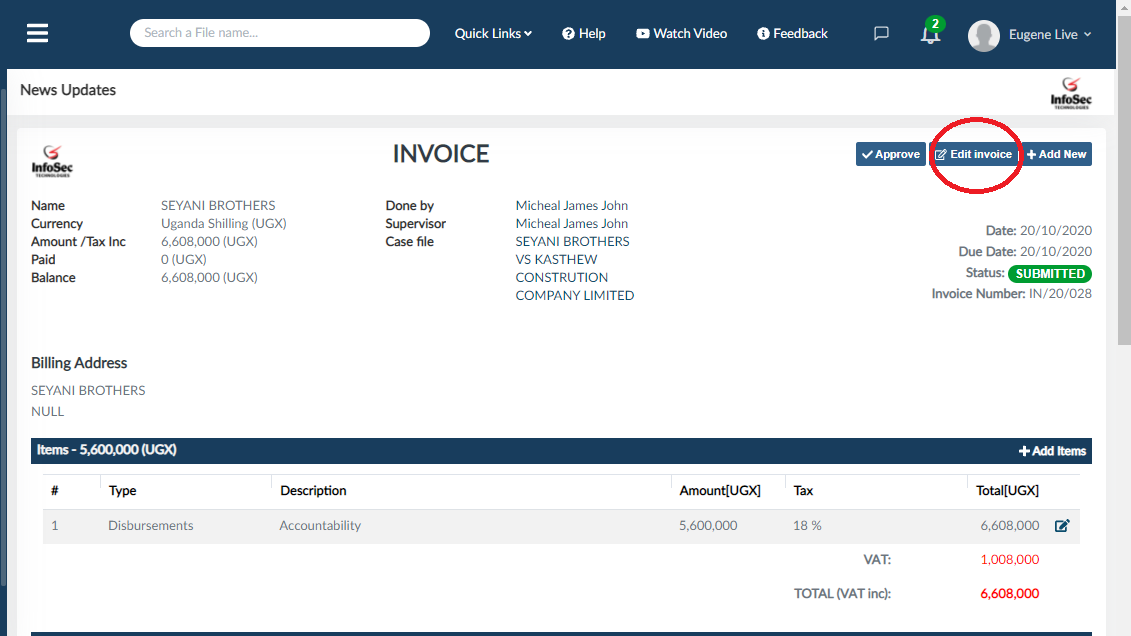
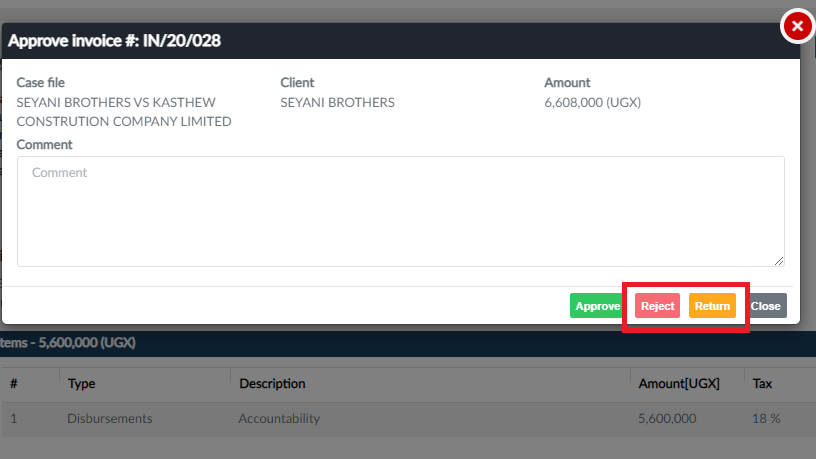
and approve,
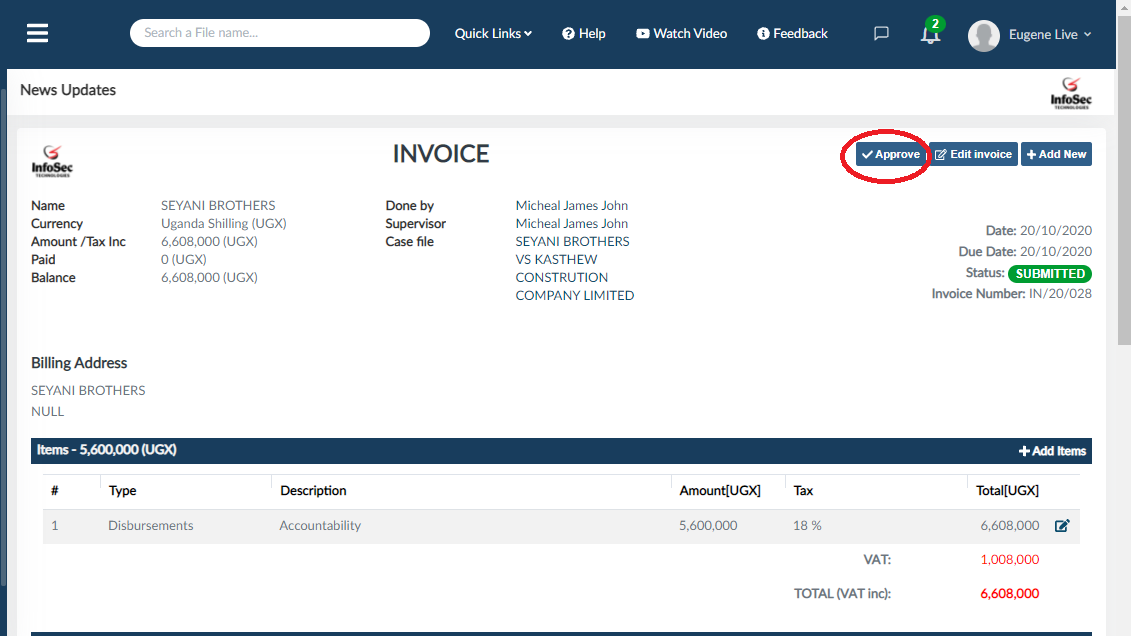
you can also reject or return the invoice
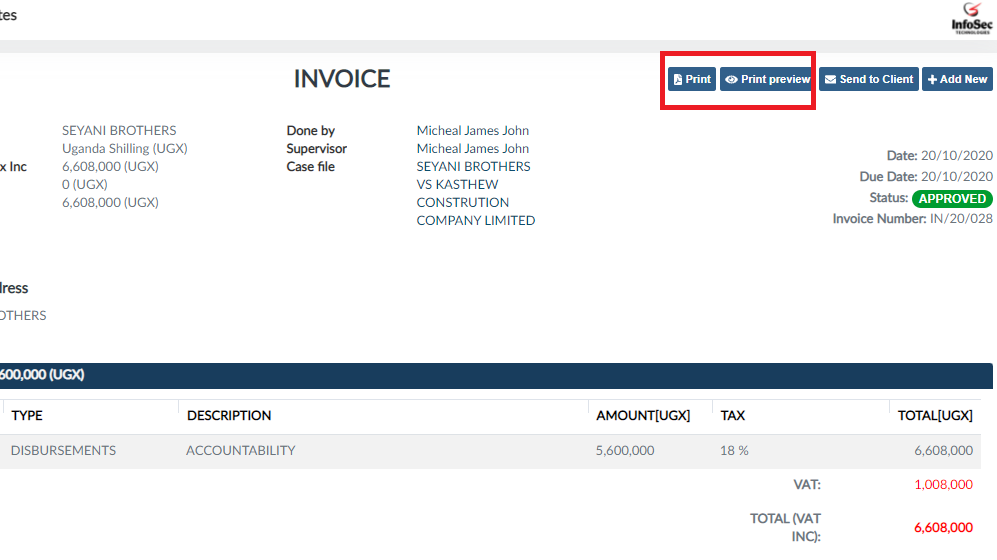
On approval, you can view the print preview or print out.
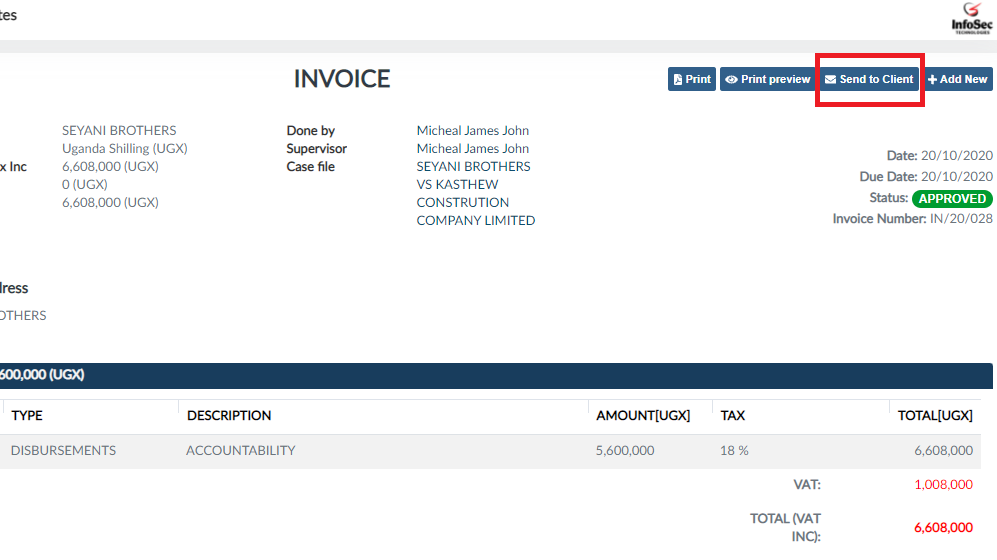
To send invoice to client, click the send to "client button"
View a video on Invoices clich here